Image Source: 123rf.com
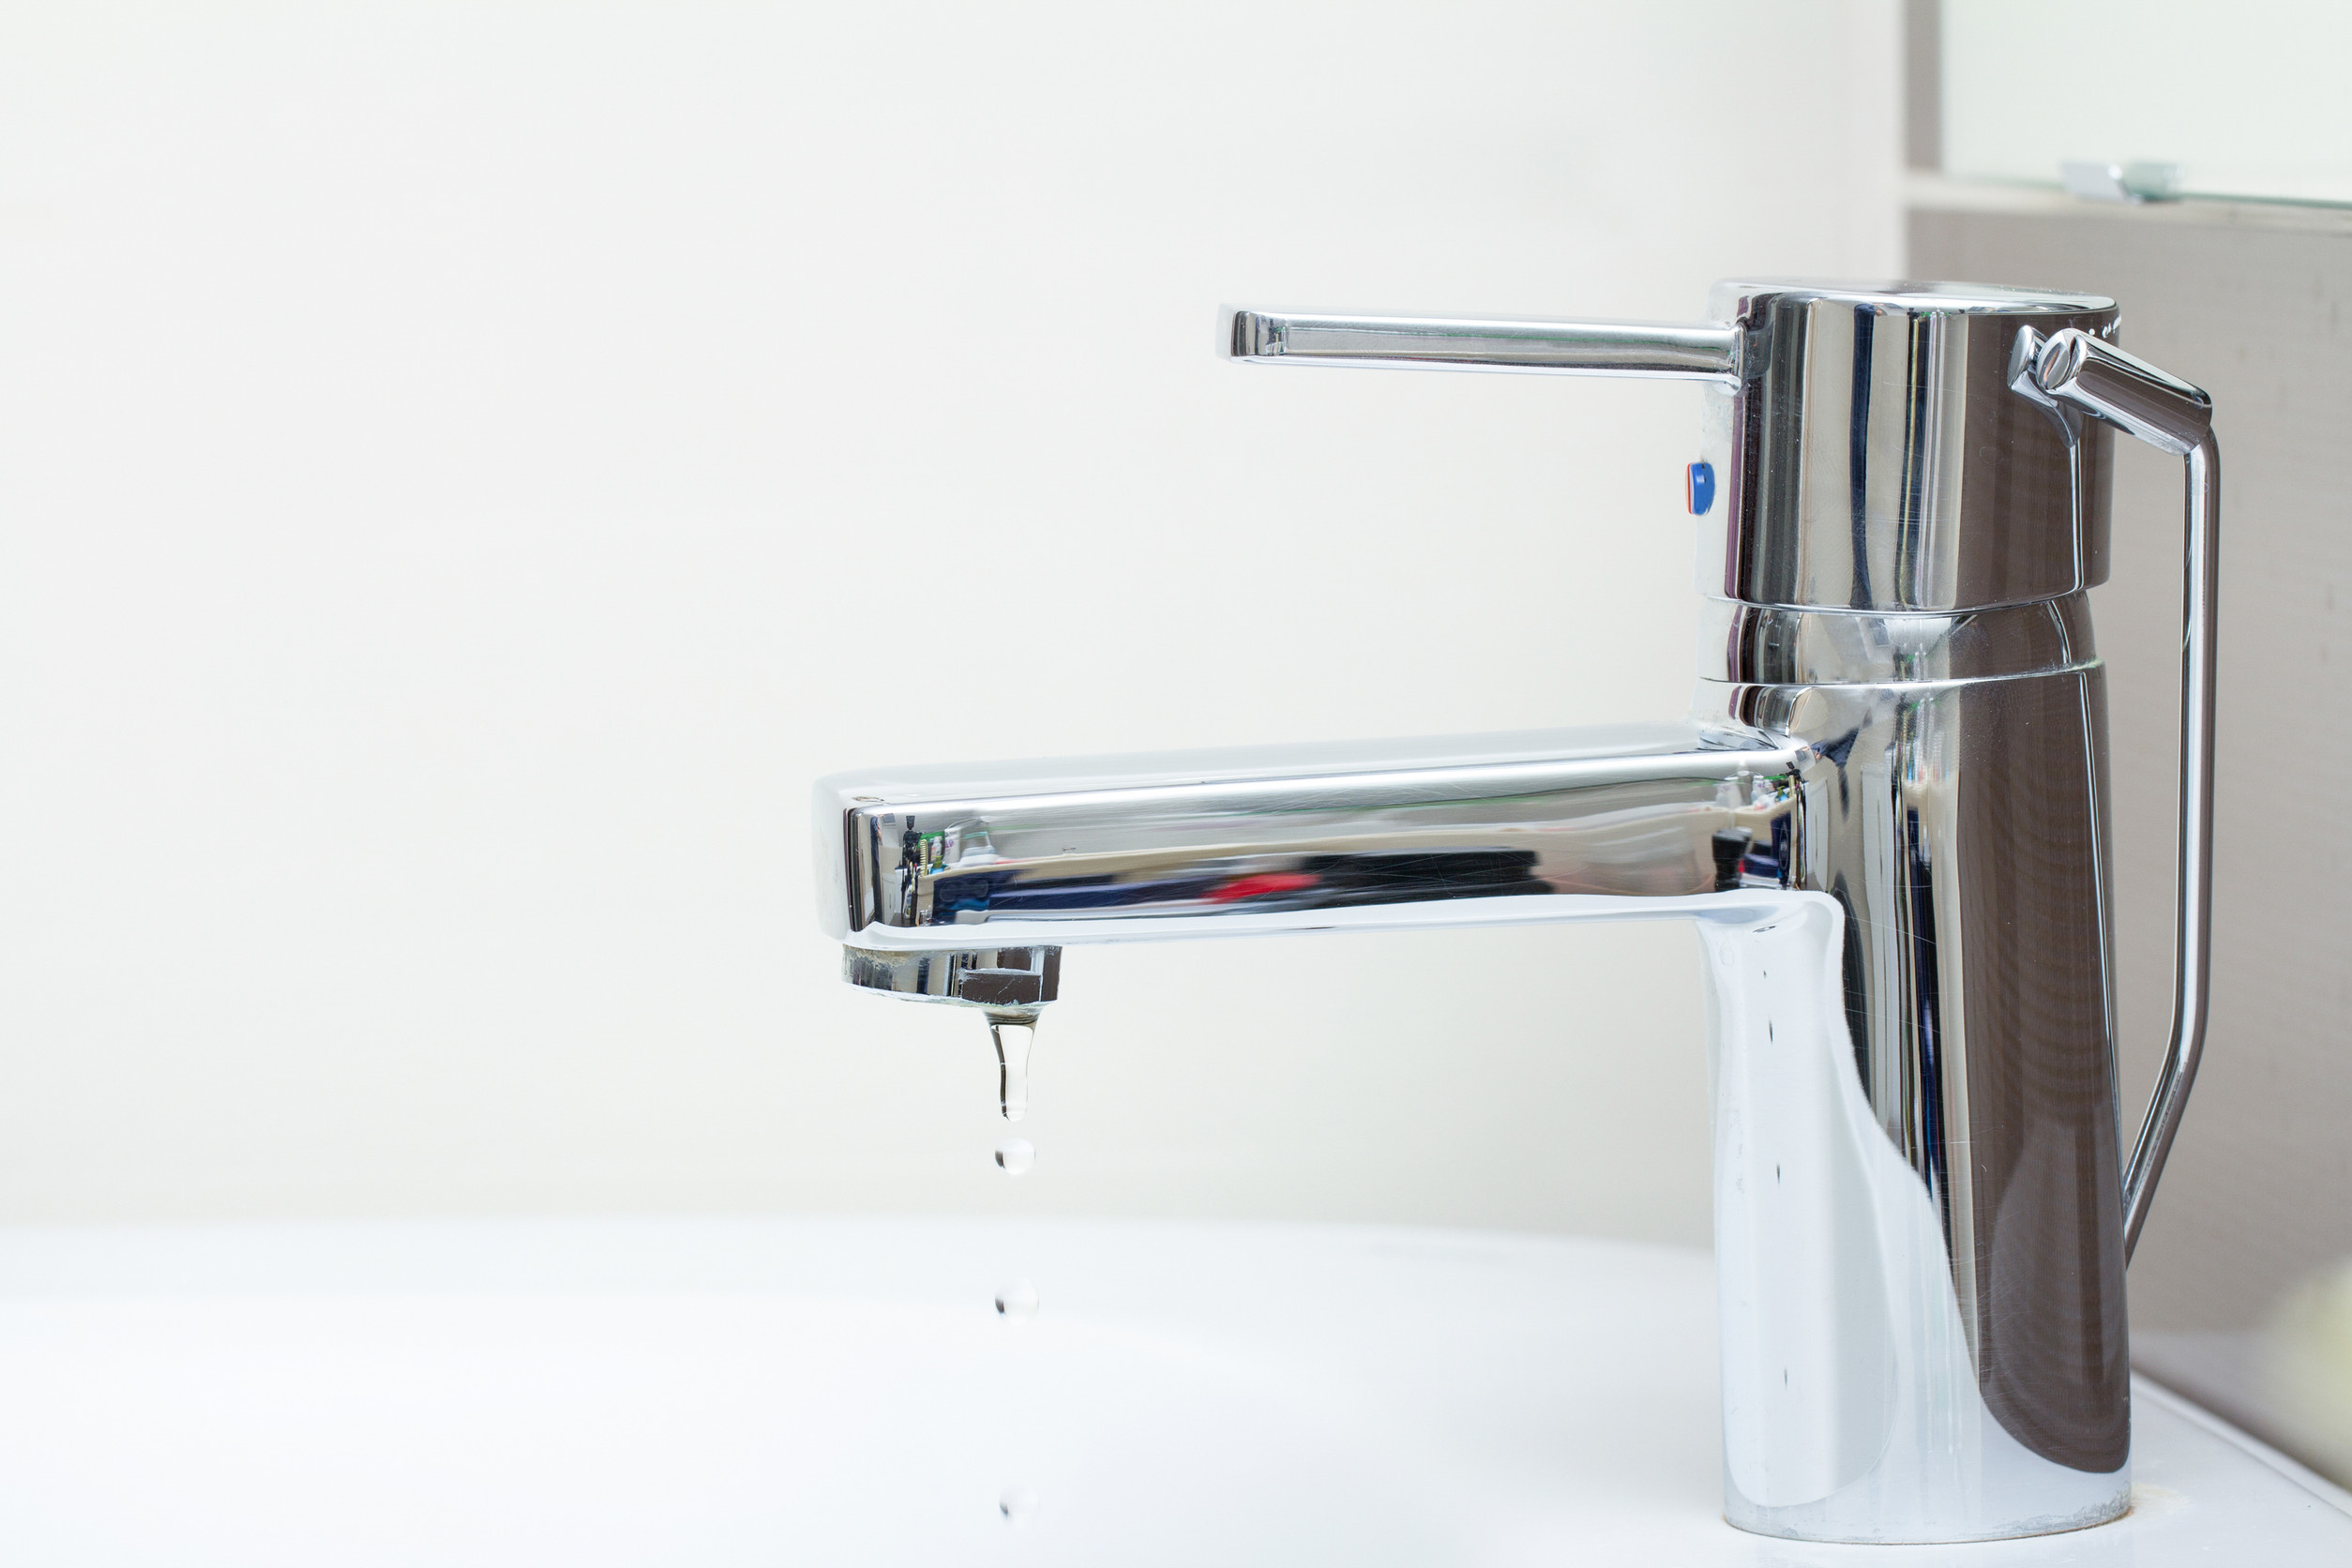
A leaky faucet is more than just an annoying sound. It is a waste of water and money. You don’t have to always call in a plumber for a leak though. Some issues can be fairly easy to fix. You’ll just need some basic supplies and a little patience. Before you know it, your leaky faucet will be working like new. Here are some of the easiest fixes for this problem that just about anyone can carry out.
1. Replace the Washer
Replacing a washer is one of the easiest DIY fixes for a leaky faucet. A worn-out washer is one of the most common problems that lead to leaks. To mend this problem, you’ll want to turn off the water supply to your sink. Then, take the faucet handle off using a wrench or screwdriver. Remove the old washer and replace it. Viola! You’re leaky sink is fixed. It’s really a simple fix.
2. Tighten the Packing Nut
A loose packing nut can cause water to leak around the faucet handle, creating unnecessary waste. This nut is located beneath the faucet handle and secures the internal components in place. To fix the issue, turn off the water supply and use a wrench to gently tighten the packing nut. Be careful not to overtighten, as this can damage the components inside. Once you’ve tightened it, turn the water back on and see if the leak has stopped.
3. Replace the O-Ring
The O-ring is a small rubber ring that helps seal the faucet handle and prevent leaks. Over time, it can wear out or crack, leading to a steady drip. To replace the O-ring, first shut off the water supply, then remove the handle to access the ring. Take the old O-ring to a hardware store to ensure you get the correct size replacement. Once you have the new ring, slide it into place, reassemble the faucet, and test for leaks.
4. Clean the Valve Seat
Mineral buildup and debris in the valve seat can cause water to leak from the spout. If you’ve replaced washers and O-rings but the drip continues, cleaning the valve seat might be the solution. Start by shutting off the water and removing the faucet handle and stem to access the seat. Use a brush or vinegar-soaked cloth to scrub away any mineral deposits.
5. Install a New Cartridge
For single-handle faucets, a faulty cartridge is often the culprit behind persistent leaks. Cartridges control the flow of water and can wear out over time. To replace it, first, turn off the water supply and remove the faucet handle. Take out the old cartridge and bring it to a hardware store to find an exact replacement. Install the new cartridge, reassemble the faucet, and test for leaks.
Say Goodbye to the Drip
Ignoring a leaky faucet can lead to wasted water, higher utility bills, and potentially even mold growth. It is something you should pay attention to and fix as soon as possible. Luckily, there are plenty of easy fixes that won’t require a ton of money to do. With a little effort, that faucet will be working well and you’ll be saving water and money!
Read More
House Squatting: 10 Ways You Can Unknowingly Become A Victim of Squatters
7 Genius Hacks to Repair Scratches on Furniture (And Make It Look New)

Drew Blankenship is a former Porsche technician who writes and develops content full-time. He lives in North Carolina, where he enjoys spending time with his wife and two children. While Drew no longer gets his hands dirty modifying Porsches, he still loves motorsport and avidly watches Formula 1.